How To Draw An Hourglass. We have many ways to mark and tell time, and in the past, people often used an hourglass to time various events. These hourglasses are often ornate and beautifully decorated, and while they do a purpose, they even serve as wonderful pieces of skill. It can be fun to design your beautiful hourglasses, and learning how to draw an hourglass will show you how you can do it.
You’ve come to the right guide to learn this, so be sure to read until the end! We hope you appreciate this step-by-step manual on how to remove an hourglass in 6 stages. You can draw many more characters like how to draw batman, Anubis drawing, cat drawing, cobra drawing, blueberry drawing, coconut drawing and many more drawing for kids.
Step 1:
Typically, an hourglass will have a frame that holds the two glass containers that hold the sand. We’ll start with this framework in this first step of our how-to-draw an hourglass guide. To begin, the top of the structure will go first. First, draw two curved lines that connect to the top of the frame.
Then add two more curved lines below the top of the hourglass for the base of this part of the frame. Finally, draw two small round shapes in the corners for the top of the sides of the frame. Once you have drawn these lines, you are ready for step 2!
Step 2:
Now that the top of the hourglass drawing is complete, we’ll focus on the side supports for the frame. These will extend from the top round shapes you drew in the previous step. These will be thin support beams that hold the two sides of the frame together, but they will also have ornate detailing and appear to be carved out of wood. There will also be thin round shapes in the center of the supports for additional detail. You can also change the appearance of some of these decorative elements if you wish!
Step 3:
Without the interior showcase, an hourglass would not only be useless but would also spill sand everywhere. For this reason, we are going to draw the glass case in this step of our how-to-draw-an-hourglass guide. This glass case is separated into two rounded sections which are connected by a thin part in the center between them. You can draw these sections using rounded, curved lines coming down from the top of the frame. There will be a gap at the bottom of the glass case, but we will close it very soon. Once you’ve drawn the lines for the casing, you’re ready for step 4!
Step 4:
Just as an hourglass wouldn’t work as well without the glass, it would be just as useless without some sand! In step 4 of your hourglass drawing, we will add this look. For the lowest half of the sand, pull a rounded shape with a thicker bottom that has a thin end at the top. You can also add a few dots on this point so that more sand will fall on it. For the top half, add another triangular shape with a rounded top for the smaller clump of sand that falls. You can then add some smaller line details to be ready for the final details in the next step!
Step 5:
In this step of our guide on how to draw an hourglass, we are going to focus on the basics. The command will look like an identical mirror picture of the top you removed in step 1. This means it will have two levels that you can draw with rounded lines. Once you draw this base, you will have finished all the details of this picture! In the next step, we will move on to the fun of coloring, but you can also continue with some of your details.
Some ideas might include engraving a message or design on the frame of the hourglass. You can also draw a background and maybe display this hourglass on a table with other objects. These are just a few of the many ideas you can choose from, so how will you complete your hourglass drawing for the final step?
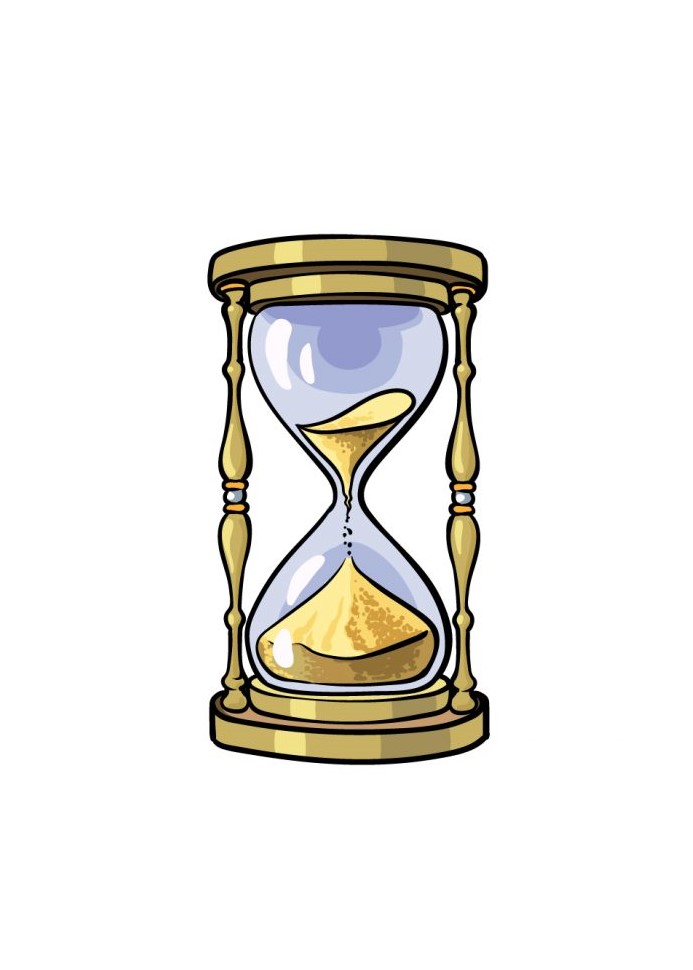
Step 6:
You have reached the last stage of your hourglass drawing, and for this part, you can have fun giving it some amazon g colors! In our reference image, we’ve chosen a bit of golden yellow to make the frame look gold or bronze. Then we used different shades of blue for the glass, then we used yellows for the sand. These are the colors we chose, but this is your design and you should feel free to use any color you like! You can also experiment with various artistic tools and mediums to bring colors to life. So there are many ways to be creative when you complete this drawing.