How to Draw A Bush. Plants and flowers are often seen in paintings, drawings, and other works.
Also check out our cute panda coloring pages.
Some examples of these plants and flowers are seen more often than others, and bushes are not usually one of them.
That’s a shame because bushes can be very beautiful, and learning to draw a bush can be just as fulfilling as drawing one of its more showy plant relatives!
This tutorial shows you this is the case while you learn how to draw one.
How to Draw A Bush
Step 1
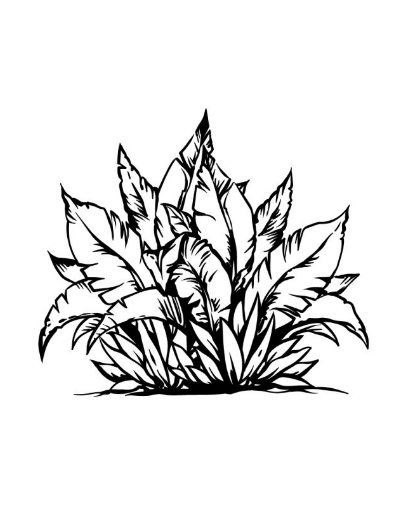
In this tutorial on how to draw a bush, we will draw one with many different leaves.
This will help add much more volume to the bush and make the image more interesting.
Drawing all these leaves might seem complicated when looking at the final image we’re working on, but that’s why we’ve broken it down into smaller steps.
We will use curved lines to draw these leaves for their outlines. These curved pads have sharp indentations to give each sheet a rough appearance.
The leaves we draw in this step are quite large and have some veins, as shown in the reference image.
Step 2
We drew the first of the leaves for this bush drawing in the previous step, and in the next step, we will draw more leaves for the central area.
We’re going to use a very similar method to what you used for the previous leaves you drew to create these new ones, except they’re a little thinner.
The previous ones bent slightly, but this one stayed straight in the air.
Otherwise, they will be the same outline type with similar details. Once these leaves are drawn, you’re ready for the next step!
Step 3
So far, in this guide on how to draw a bush, we have mainly drawn fairly large leaves. However, in this step, we will draw some smaller ones.
These leaves form the bush’s base and are drawn in rounded lines that culminate in sharp points at the top.
The outlines of these smaller leaves will be much smoother than the larger leaves, and we won’t put those hard indentations in them.
There will still be a slot on the right side of the base, but we’ll fill it soon!
Step 4
We are now beginning to reach the final stages of your bush drawing! In this fourth part of the pattern, we will add leaves to the larger top part and the smaller ones at the base.
As we do this, we will draw another filled leaf for the top section starting with some outlines for more that we will finish in the next step.
Next, we’ll finish off the leafy base by drawing another tuft of leaves to the right of the leaves we’ve already drawn.
Once these leaves are all drawn, we are ready to finish the final leaves and details in the next part.
Step 5
You can now finish the image before coloring it for the final step of our how-to draw a bush guide.

To do this, we’ll draw some of the large leaves you created for the top of the bush.
Once these final leaves are drawn and detailed, feel free to add some of your details and details before moving on!
This is just one of many approaches you can take, and be sure you’re having fun creating the perfect scene for your artwork!
Step 6
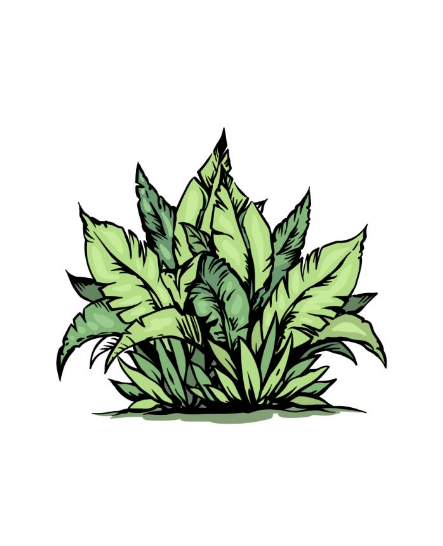
Top it off with some eye-catching colors for the final step of your bush design. As you would imagine a bush, we used a lot of green in our reference image.

Even if you mainly use one color, you can still create dynamic textures by using as many shades as possible for coloring.
Whatever you use will look great, so choose your favorite paints and art tools!
Your Bush Drawing is Finished!


